
If you read my
T&T Crafts Facebook Page, you would've read that I promised a Tamale Tutorial... and here it is! Please bear with me if this is a bit off, as this is my very first tutorial ever.
*************************************************************************************
So let's get started. Here is what you will need:
Corn Husks
Lard
Masa (corn flour)
Shredded Meat (I cook a big roast in the crock pot a day or so before making tamales)
Baking Powder
Salt
Chicken Bullion or Chicken Stock
Water
Stock Pot & Steamer Insert that will fit the pot
*************************************************************************************
Instructions:

Fill your
clean sink with HOT water. Add your corn husks. I like to weigh them down to make sure they all get wet. The hot water will help them become soft and flexible so we can use them to roll up our tamales.

Go ahead and fill your pot with water, add the steamer insert, and turn on your stove. I think it helps to cook the tamales faster if the water is already at a boil.

Shred your precooked meat. This works best when the meat is hot or at least warm to the touch. You can either use your Quick Chef (if you're a Tupper-holic like me and everything in your kitchen is Tupperware) or just put it in a bowl and pull it apart using two forks.

Now let's mix up our tamale "dough." Here is the recipe I use, but you may need to adjust the amount of liquid based on your altitude or how dried out your masa is.
2 cups masa
1 tsp baking powder
1/2 tsp salt
2/3 cup lard
1 3/4 cups water or chicken stock
*chicken bullion if you're using plain water
Mix all the dry ingredients together. Add the lard and use your mixer to incorporate it in the the dry ingredients until it looks kind of like bread crumbs (ever make pie dough?). Add the water or chicken stock and use the hand mixer again until everything is easily mixed. The dough should seem kind of fluffy.
Now that your meat is shredded, your water is warming up, and your dough is ready, let's grab one of those soaking corn husks.

These ones are skinny and too small. Maybe you can use them for a Corn Husk Doll project with your kids.

This one is MUCH better! Your husks don't have to be huge, but they do need to be big enough to do something with.

Using a spatula, or a spoon, or your fingers, smear some dough on the corn husk. I usually cover about a 2inch wide x 3-4 inch long space on the upper right section of the corn husk.

Add some meat...

Roll it up, starting from the long edge with the masa on it.

I like to twist the bottom of mine and poke it in to the bottom (does that make sense at all? lol). If you have a really thick corn husk, you're best off to just fold it so you don't blow out the bottom of the tamale trying to twist it.

Here's the top of the tamale.

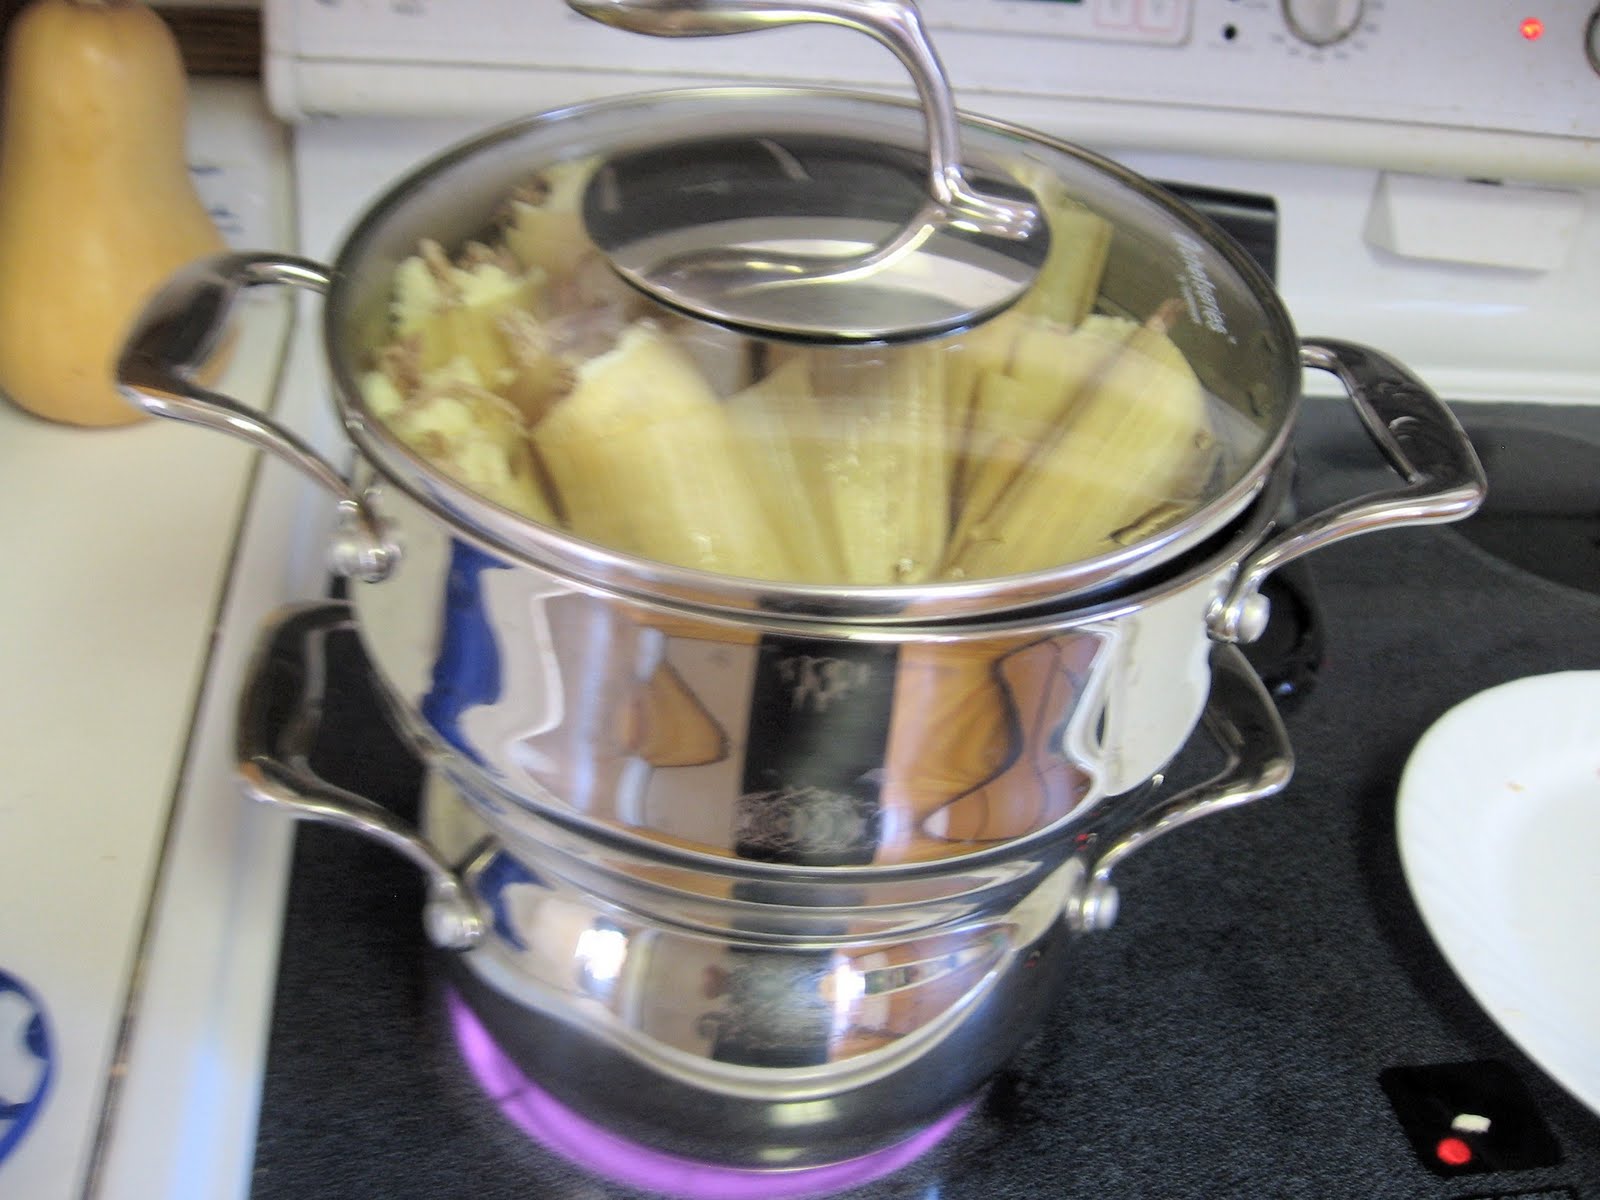
Load up your tamale pot.

Put the cover on.

Set a timer for an hour. Check the water periodically, the last thing you want is for your pot to boil dry. When your tamales are done, they will feel firm. If they need more time, they will still feel somewhat squishy. I add time in half hour increments when need be. Remember to check the water!
*************************************************************************************

A plate full of tamales... Let cool 5-10 minutes after cooking, if you can resist!

Remove the corn husks, add some tamale sauce and enjoy!








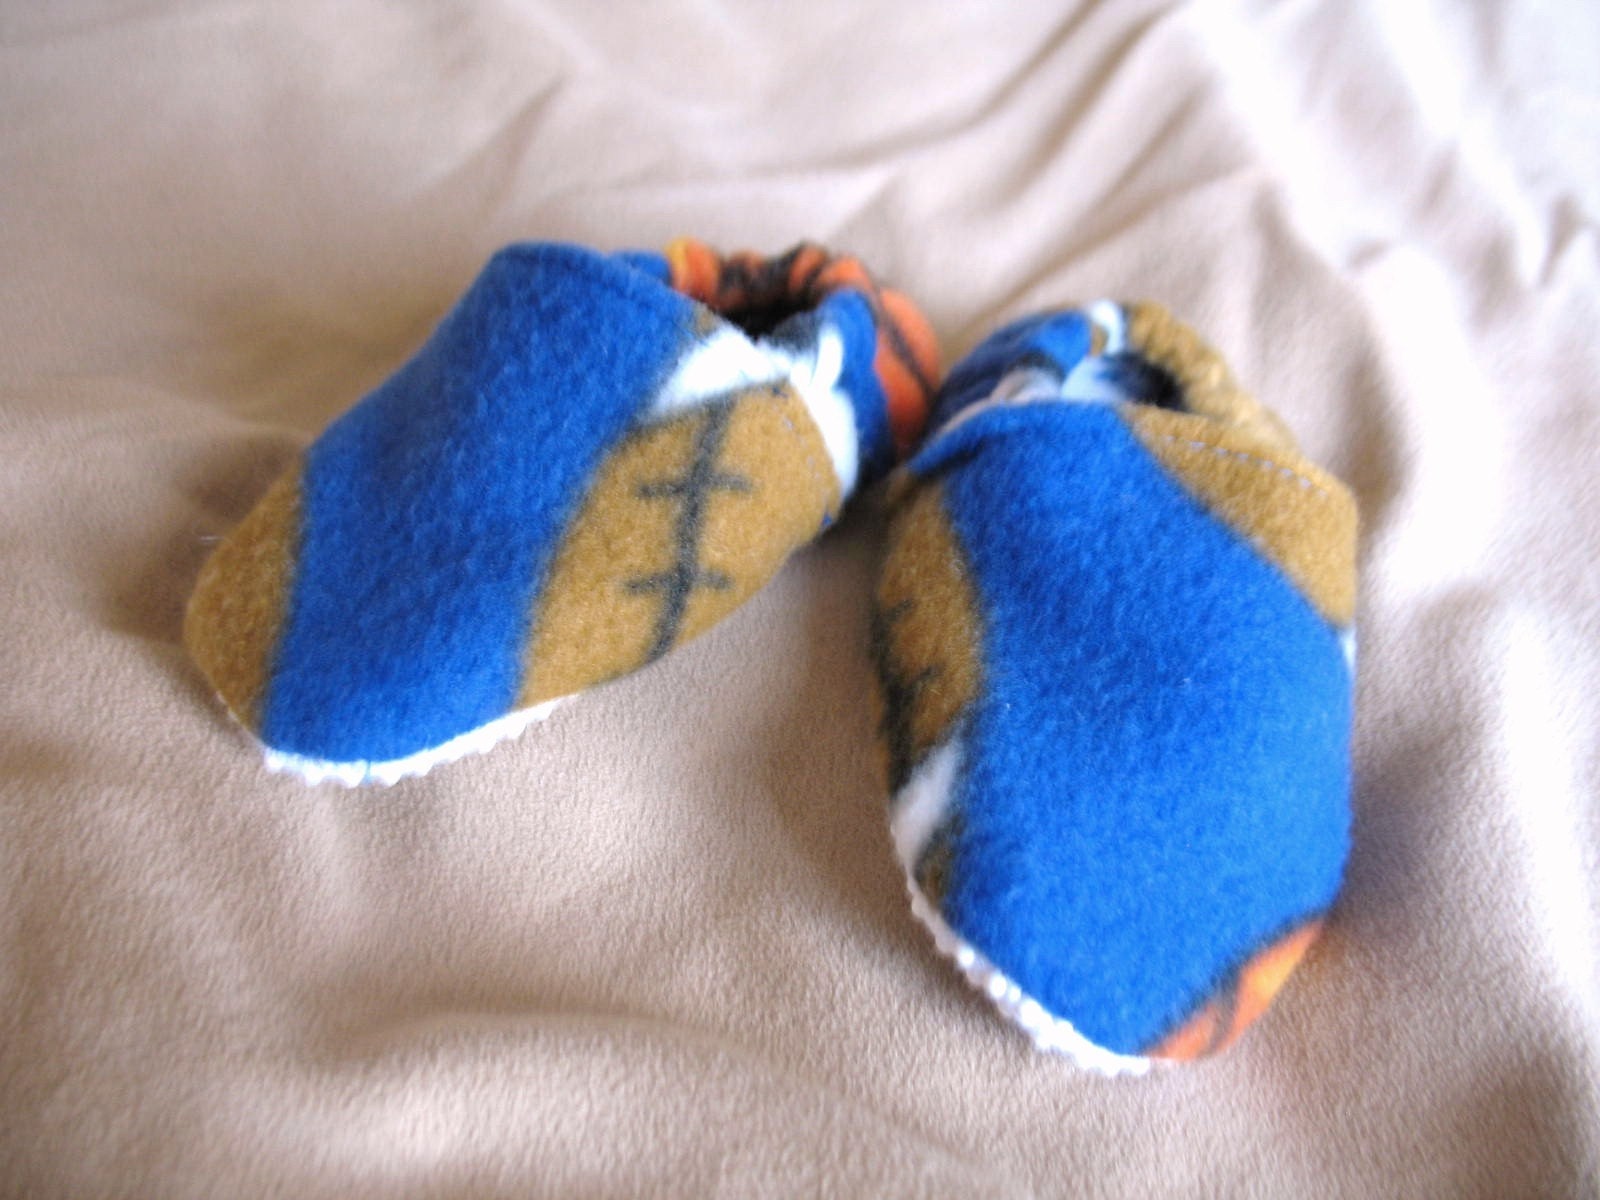 Hello Everybody! In case you haven't heard, my Etsy shop is one of the participating donaters for the Etsy Baby Shower. Contributing shops choose an item (or two or three...) to donate to expecting Etsy moms. The wondeful people in charge of the shower collaborate all the information in to a nice, fun shower of gifts for the expecting moms. Each shop is paired up with a mom (or more, depending on their donations). I will be contributing 1 pair of my Lil' Loafers to each of the 4 moms that I've been paired up with. Not only is this great for the receiving mothers-to-be, but it's really been fun for me to be involved in and gives me warm fuzzies all over the place. Now I can really sew with purpose (other than just my amusement I suppose).







 Posts
Posts


